Last weekend, I stared at my windowsill full of boring terracotta pots and thought, “These need serious help.” My succulents looked gorgeous, but their homes? Dull as dishwater. So I raided my craft cupboard and got to work.
Two hours later, my plants had gone from tragic to magic. Best part? I spent less than £15 on the lot.
Why Bother Decorating Plant Pots?
Your plants deserve better than naked terracotta, don’t they? A recent survey by the Royal Horticultural Society showed that many British households now grow plants indoors. That’s millions of pots crying out for personality.
Decorated pots serve practical purposes too. They protect plain terracotta from weather damage. They hide chips and cracks. Plus, they let you match your plant containers to your home décor without buying expensive designer versions.
Most importantly, personalised pots make you happier. I noticed this myself; every time I water my newly decorated plants, I smile. There’s something satisfying about seeing your handiwork brightening up the room.
The Rope Trick That Changed Everything
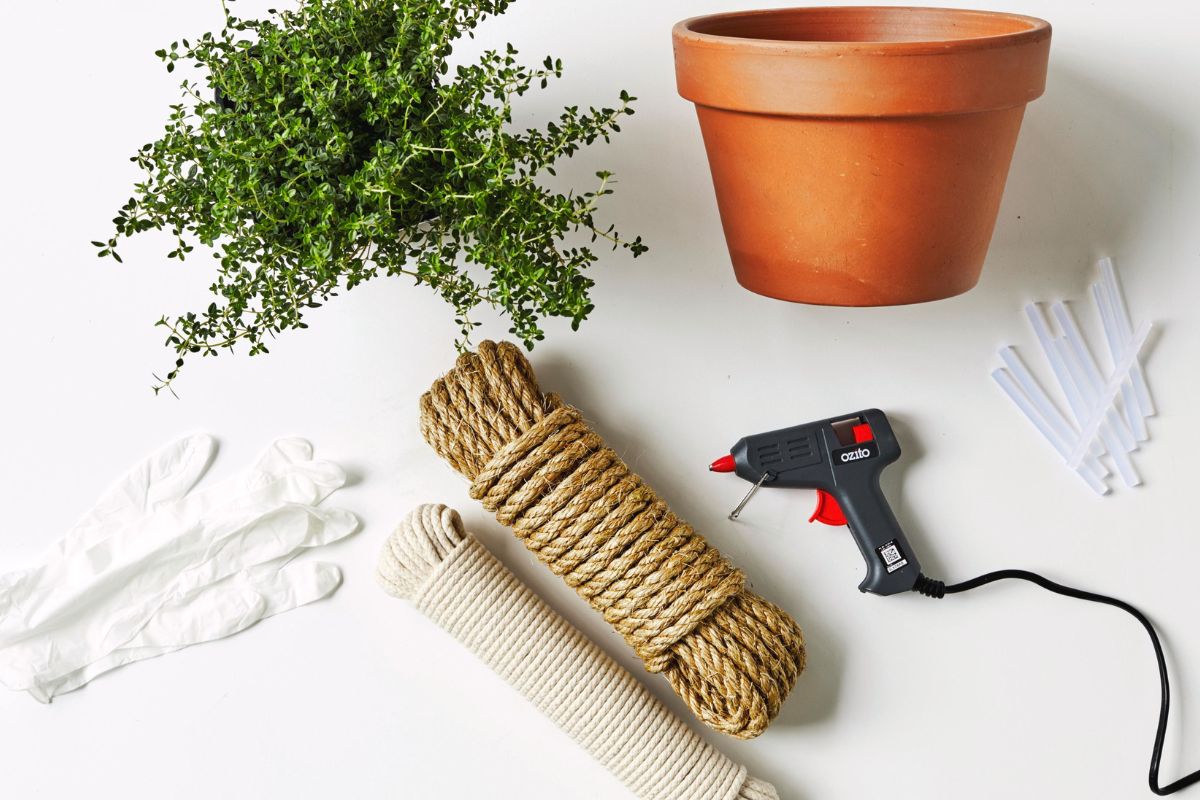
My first attempt used natural jute rope from the pound shop. I grabbed my trusty glue gun (best £3 I ever spent) and started wrapping from the bottom up.
Here’s what I learned: start with a small blob of hot glue, then wind the rope tightly as you work upwards. Add glue every few rounds to keep everything secure. The whole process took about 15 minutes per pot.
The result? My plain pot suddenly looked like it belonged in one of those fancy garden centres where everything costs a fortune. My mum visited the next day and asked where I’d bought it. When I told her I’d made it myself, she immediately wanted the tutorial.
Rope decoration works brilliantly for any pot size. I’ve done everything from tiny 6cm pots for air plants to massive 30 cm ones for my fiddle leaf fig. The technique stays exactly the same.
Paint Pens: My New Best Friends
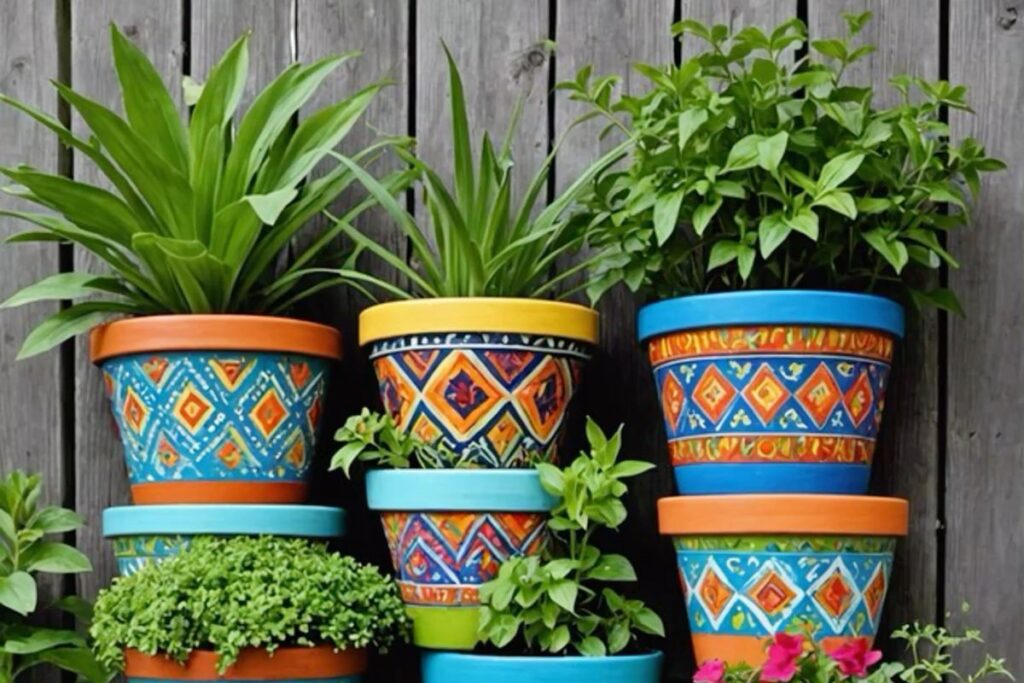
After the rope success, I got cocky. Time to try paint pens on ceramic pots.
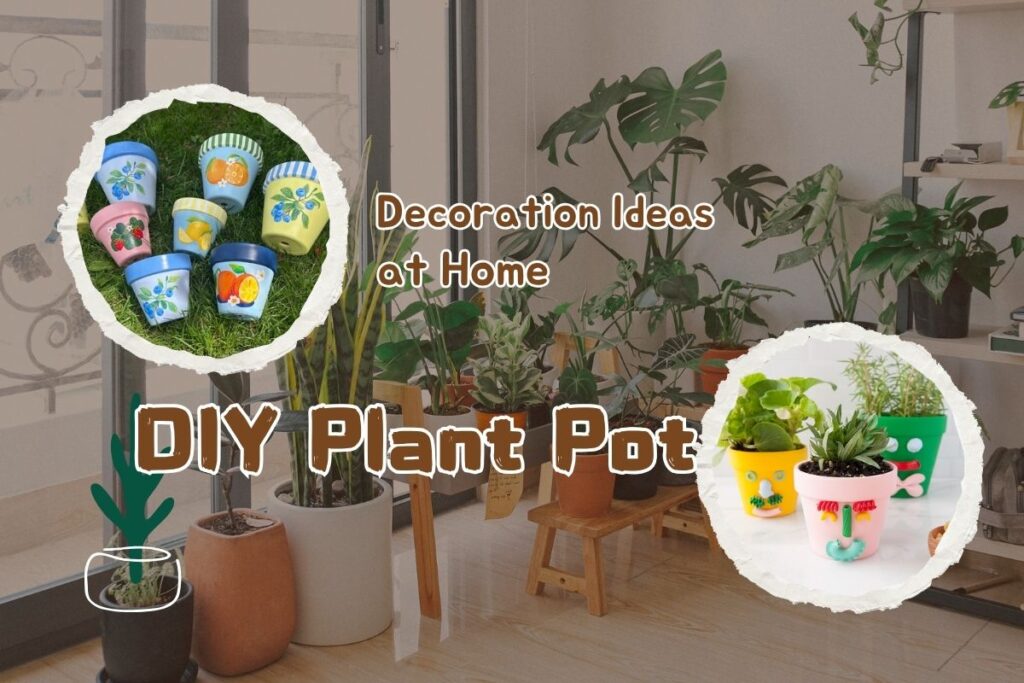
I bought a set of ceramic paint pens from Hobbycraft for £8. These pens let you draw directly onto pots without needing brushes or palettes. Perfect for someone like me who’s not exactly Michelangelo.
My first design was simple geometric patterns, just triangles and dots in white and gold. I sketched lightly in pencil first, then went over with the paint pens. After 24 hours, I popped the pots in a cold oven, heated it to 160°C, and baked them for 35 minutes. This sets the paint permanently.
The ceramic paint pen technique opened up endless possibilities. I’ve made polka dot pots, striped ones, and even attempted (badly) to write inspirational quotes. My handwriting’s rubbish, but somehow that makes them more charming.
Fabric Scraps and Mod Podge Magic
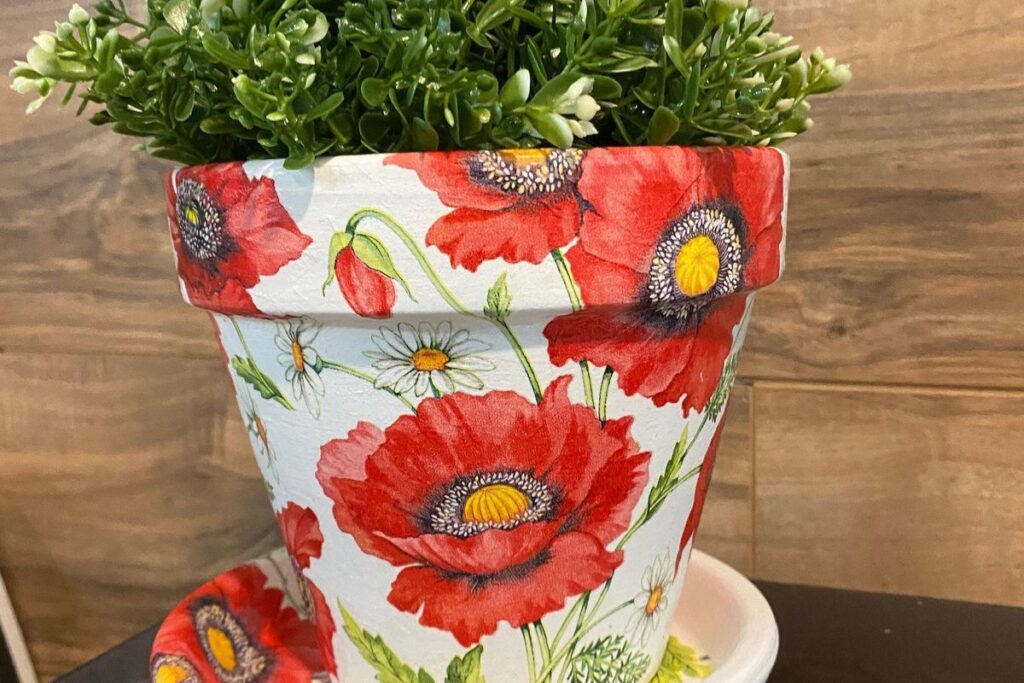
I had a lot of fabric in my stash. So I thought I’d do something productive with it. Mod Podge, that miracle glue that dries clear, quickly became my secret weapon.
So I cut squares of fabric a bit larger than my pot sections and applied Mod Podge right to the pot. Pat the fabric down again and smooth out any bubbles. Cut away any excess fabric at the top and bottom, leaving 1 cm to fold up over the top edge.
The trickiest bit? Getting smooth coverage around curved surfaces. I discovered that making small cuts in the fabric helps it lie flat around the pot’s curve. Then brush another layer of Mod Podge over the top to seal everything.
My floral fabric pot now houses my snake plant, and honestly, it looks professional. Several friends have commissioned me to make them one; apparently my DIY plant pot decoration ideas at home have created a small business opportunity!
Natural Materials That Actually Work
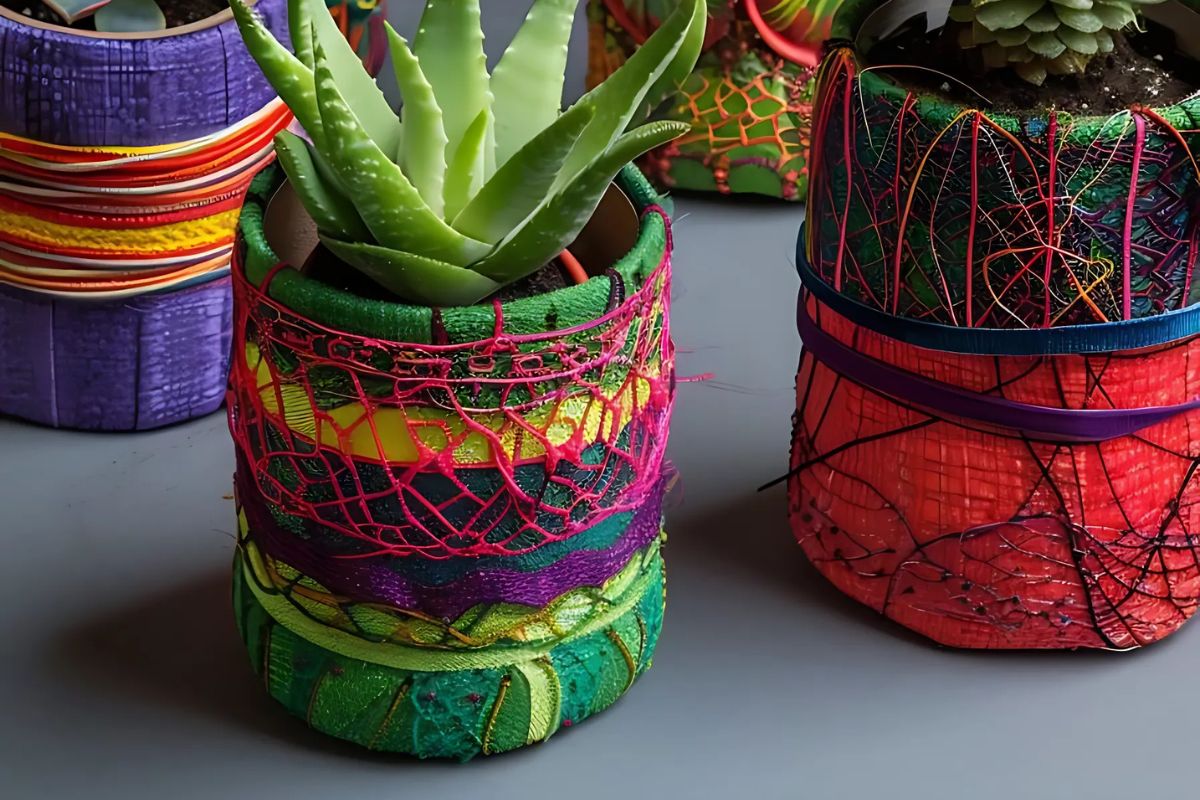
Living near the coast means I’m always collecting shells, driftwood, and interesting pebbles. Why not use them on plant pots?
I covered a large pot with smooth pebbles using outdoor adhesive. Started at the bottom, working in rows like roof tiles. Each pebble overlaps slightly with the one below. The effect is stunning, like something from an expensive spa.
Sea glass works beautifully too. I made a mosaic pot using green and blue pieces found during beach walks. Applied them with tile adhesive, then grouted with white grout once everything dried. The light catches the glass pieces and creates the most gorgeous sparkles.
Warning: natural materials take longer than other methods. My pebble pot took three evenings to complete. But the result? Totally worth the effort.
Quick Wins for Busy People
Not everyone has hours to spend on pot decoration. Here are my fastest techniques:
Washi tape transformation: Japanese washi tape sticks brilliantly to smooth pots. Create stripes, geometric patterns, or rainbow effects in minutes. I keep rolls in different colours for quick plant pot makeovers.
Spray paint drama: Metallic spray paints instantly glamorise cheap plastic pots. Two light coats give better coverage than one heavy coat. I learned this the hard way after creating several drippy disasters.
Decoupage delight: Cut pictures from magazines or wrapping paper, then stick them down with Mod Podge. My sister made Harry Potter-themed pots using pages from old Hogwarts calendars. Her teenage daughter was over the moon.
Storage and Organisation Tips
All this pot decorating means you need somewhere to store supplies. I converted an old plastic drawer unit into my craft station. Each drawer holds different materials: paints in one, fabrics in another, and natural bits in a third.
Keep a notebook of your successful projects. I photograph each finished pot and jot down the materials used. This helps when friends ask for recreations or when I want to make matching sets.
Getting Started Today
Common garden items can be recycled for basic pot decor here at home. Old paintbrushes, fabric scraps, leftover wrapping paper you might be having at home can work. Start simple. Select one plain pot and one technique that you like. Don’t expect to be perfect the first time around. My early attempts were rough, but they taught me a lot of lessons about what will and won’t work.
And lastly: Try it out; it’s fun! These are flowerpots, not works of art. And if something does not go according to you, you can always start again with another £2 pot from the garden centre.
Your plants will thank you for the upgrade, and you’ll get a massive confidence boost from creating something beautiful with your own hands.

Leave a Reply